SonarQube Installation
To install and configure SonarQube on a Linux system, follow these general steps. Please note that specific details may vary based on your Linux distribution and the version of SonarQube you're installing. In this example, we'll install SonarQube on an Ubuntu-based system:
-
Prerequisites:
- Make sure you have a Linux server with Java (JDK) installed. SonarQube requires Java to run.
- Ensure you have superuser or root privileges to install software and make system-level changes.
-
Download SonarQube:
- Visit the SonarQube Download Page to get the URL of the latest version.
- Use
wgetorcurlto download the SonarQube package to your server:wget https://binaries.sonarsource.com/Distribution/sonarqube/sonarqube-{version}.zip - Replace
{version}with the version number you want to install.
-
Install and Extract:
- Install the
unzippackage if it's not already installed:sudo apt update sudo apt install unzip - Extract the downloaded SonarQube archive to a directory of your choice. In this example, we'll use
/opt:sudo unzip sonarqube-{version}.zip -d /opt
- Install the
-
Create a Symlink (Optional):
- For easier access, create a symbolic link to the SonarQube directory. This step is optional but can be helpful.
sudo ln -s /opt/sonarqube-{version} /opt/sonarqube
- For easier access, create a symbolic link to the SonarQube directory. This step is optional but can be helpful.
-
Configure SonarQube:
- Open the
sonar.propertiesfile for configuration:sudo nano /opt/sonarqube/conf/sonar.properties - Customize the configuration as needed, such as database settings and server settings. At a minimum, configure your database settings.
- Open the
-
Database Setup:
- SonarQube requires a database. You can use PostgreSQL, MySQL, or H2 (embedded database for testing and small setups). Configure the database connection settings in the
sonar.propertiesfile.
- SonarQube requires a database. You can use PostgreSQL, MySQL, or H2 (embedded database for testing and small setups). Configure the database connection settings in the
-
Start SonarQube:
- Run the following command to start SonarQube:
/opt/sonarqube/bin/linux-x86-64/sonar.sh start - You can replace
linux-x86-64with the appropriate directory based on your system architecture.
- Run the following command to start SonarQube:
-
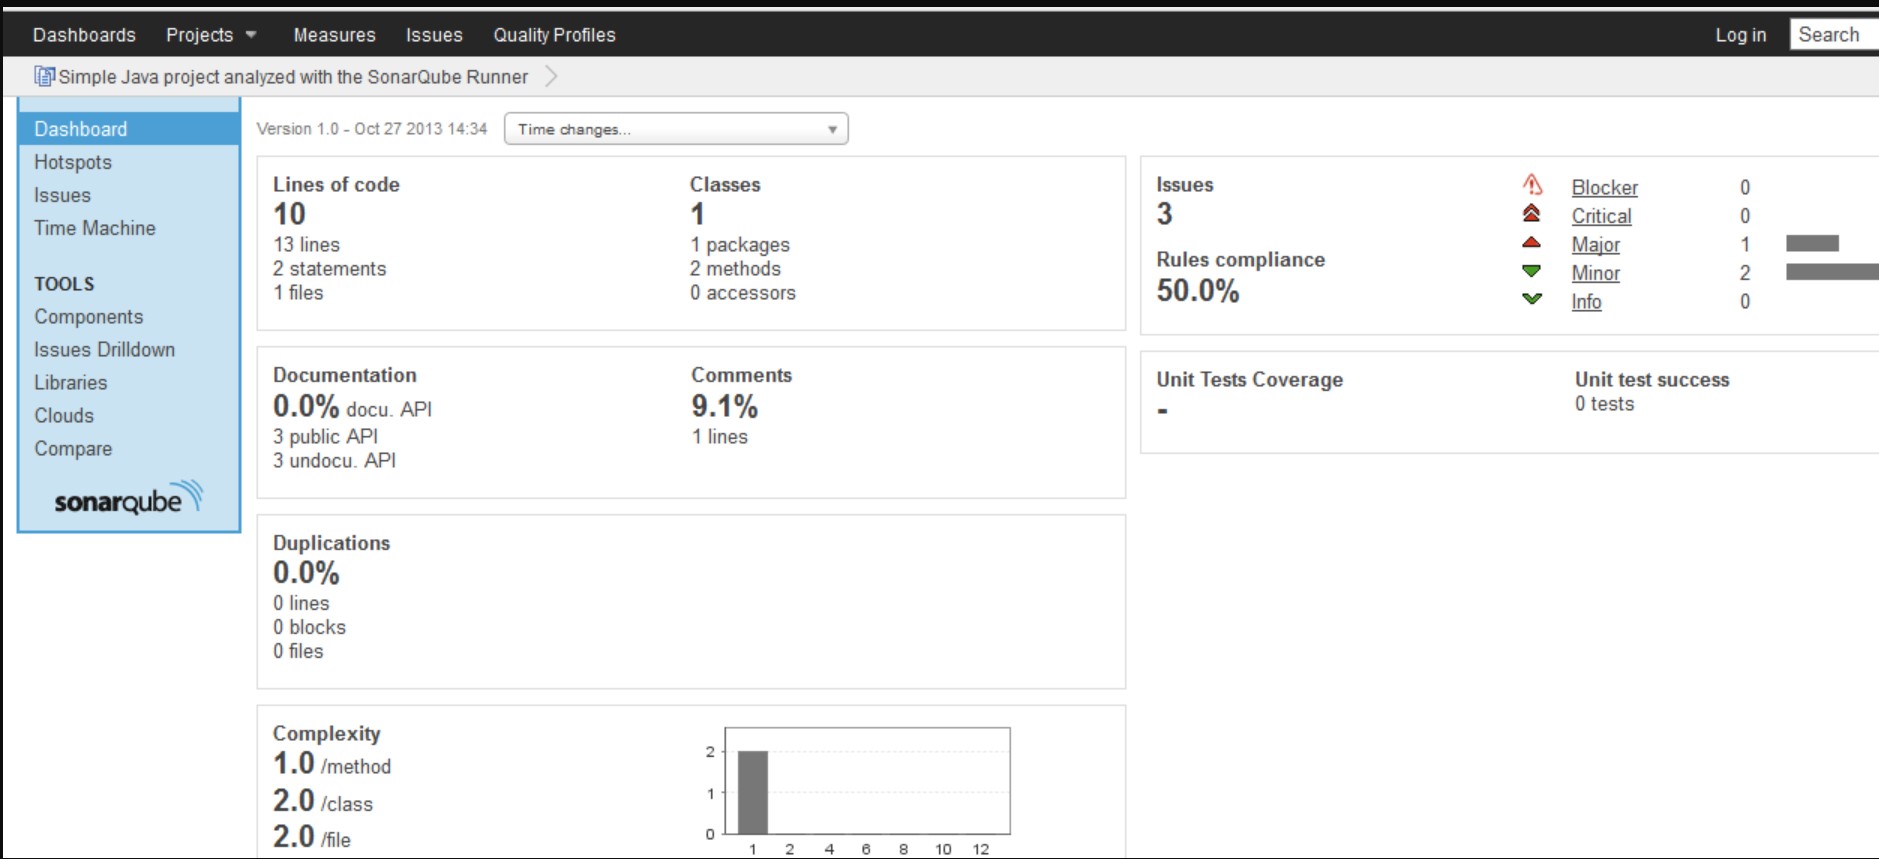
Access SonarQube Web Interface:
- Open a web browser and access SonarQube at
http://your-server-IP-or-domain:9000. - The default login credentials are:
- Username: admin
- Password: admin
- Open a web browser and access SonarQube at
-
Post-Installation Configuration:
- After logging in, change the admin password and configure SonarQube as needed for your projects.
-
Integration with CI/CD (Optional):
- If you want to integrate SonarQube into your CI/CD pipeline, refer to the documentation for your CI/CD tool for specific instructions.
Remember to check the official SonarQube documentation for any version-specific instructions or additional steps. It's also important to secure your SonarQube installation and manage your server's firewall settings to control access to the web interface.

Enroll Now
- DevOps
- Machine Learning